Home maintenance tasks aren’t going to be any easier at the start of a new year than they were during the holiday bustle of December. Still, homes must be maintained, even in January. Why? It’s always easier and cheaper to do home maintenance than to repair a home—sometimes to the tune of thousands of dollars.
Since we’re all about saving you time and money, every Monday, we’ll cover a home maintenance tasks that should be completed this month—plus tips for how to do them faster and easier, or with the help of a pro. So take a deep breath and dive into those chores. The good news? Many are inside chores, so you have no “It’s too cold!” excuses. (Source: Realtor.com)
Serving Buena Park, Cerritos, LA County, Orange County and all surrounding areas
Oosouji is the Japanese tradition of end-of-year cleaning that literally means “great cleansing,” and has its roots in Shinto beliefs.The Oosouji became a means of purifying one’s environment to welcome the New Year and the kami (Shinto spirits or deities). The ritual also symbolizes the end of bad experiences, regrets and failures of the past year, paving the way for a new beginning.
Oosouji is much more than a routine house-cleaning. It’s an exhaustive cleaning of the entire house, where every nook and cranny is carefully treated. From windows to baseboards, from the underside of furniture to the back of appliances, nothing is left to chance. Japanese families take this task very seriously, and it’s common to see all members actively participating in the housework.
The process also involves the sorting and elimination of unnecessary or cumbersome items, reflecting the Japanese concept of “mottainai,” which expresses regret at waste. This step creates a more uncluttered and serene space, ready to welcome in the New Year. In the offices, old papers are discarded and files reorganized. As for the students, they tidy up their desks, taking part in the collective purification effort.
HOW TO PERFORM OOSOUJI AT HOME
Here practical advice for integrating this spirit of deep cleaning into your end-of-year routine:
Planning and preparation: Set a date for your big clean and prepare all the necessary tools in advance.
Zoning: Divide the work by dividing your home into several zones, either by room or by category of object.
Decluttering: Take the opportunity to sort through your belongings and get rid of unnecessary items.
Deep cleaning: Clean every nook and cranny, including often overlooked areas such as behind appliances or the tops of cupboards.
Organization and tidying: Reorganize your spaces to create a more functional and serene environment.
Don’t hesitate to involve all family members in this process, as the Japanese traditionally do. This can be an excellent opportunity to prepare together for New Year’s Day in Japan (their biggest holiday), creating an atmosphere conducive to celebration and renewal.
TIPS ON HOW TO CLEAN
From top to bottom. Start with the heights of the furniture and gradually go down to the final step, which is sweeping and mopping the floors.
Follow clockwise. The goal is to start and finish in the same place to have the feeling of having closed a circle.
Use boxes and try to donate. That’s better than throwing away. You never know which person is going to use something that you no longer need.
Have trash bags on hand. It is to easily throw away everything that we do not need and the dirt that we have removed.
Fix little things. A snag on a cushion, a stain on a carpet or a scratch on a piece of furniture. Fixing those small details goes a long way. Damage affects our mood.
Let the whole house participate. Never decide about the personal belongings of your family members; let each person decide for themselves.
ADAPTING OOSOUJI: LESSONS TO BE LEARNED
Although Oosouji is deeply rooted in Japanese culture, its principles can be adapted and appreciated in other cultural contexts. The idea of an annual cleansing as a means of purification and renewal can be universally appealing. It offers an opportunity for reflection and refocusing, while creating a clean and orderly environment for the year ahead.
In an international context, Oosouji can be seen as a practice of mindfulness and gratitude towards one’s living space. It can be combined with other end-of-year traditions, such as the festival of seven herbs (Nanakusa no sekku), to create a meaningful personal or family ritual. The key is to capture the spirit of Oosouji: a moment of pause to clean up, tidy up, and prepare mentally and physically for a fresh start.
By adopting certain aspects of Oosouji, we can not only improve our physical environment, but also cultivate an attitude of respect and gratitude towards our living space. This practice can help us to leave behind negative energies, as the Japanese symbolically do, and welcome the New Year with a renewed spirit and harmonious environment.
Sources:
I.D.O. “Ôsôji: Japanese-Style Cleaning.” Japan Experience, Japan Experience, 18 May 2024, www.japan-experience.com/plan-your-trip/to-know/understanding-japan/osoji-le-grand-nettoyage-a-la-japonaise. Accessed 26 Dec. 2025.
“Oosouji. The Japanese Method to Clean Your House.” Home Healthy Home, Home Healthy Home, home-healthy-home.com/en-gb/blogs/blog/oosouji-el-metodo-japones-para-limpiar-la-casa-que-cada-vez-siguen-mas-personas. Accessed 26 Dec. 2025.
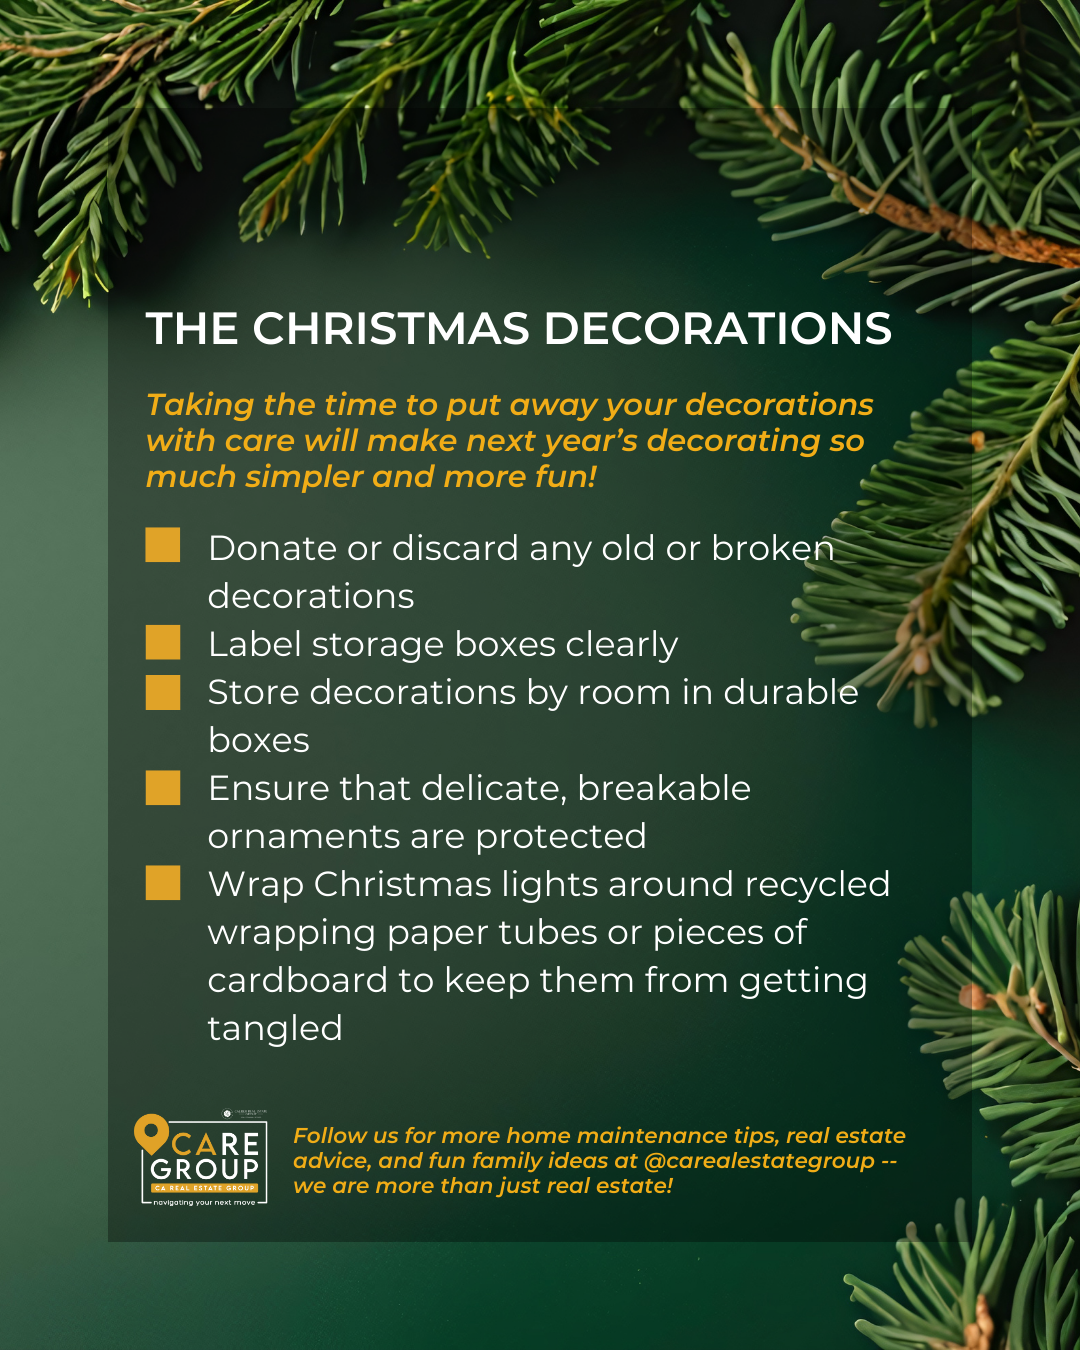
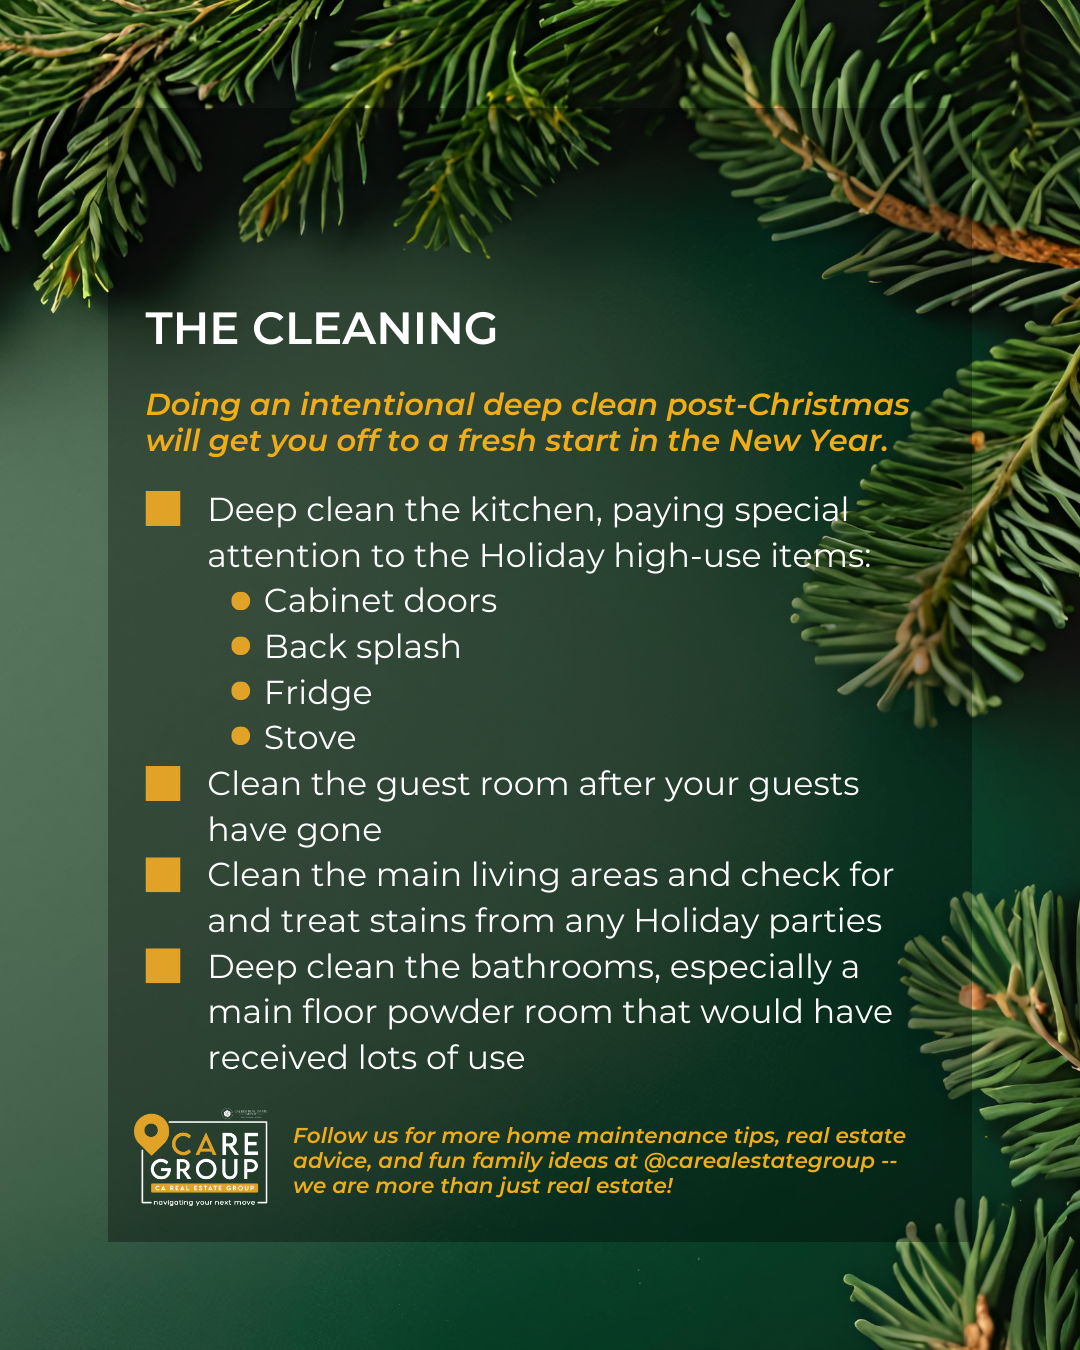
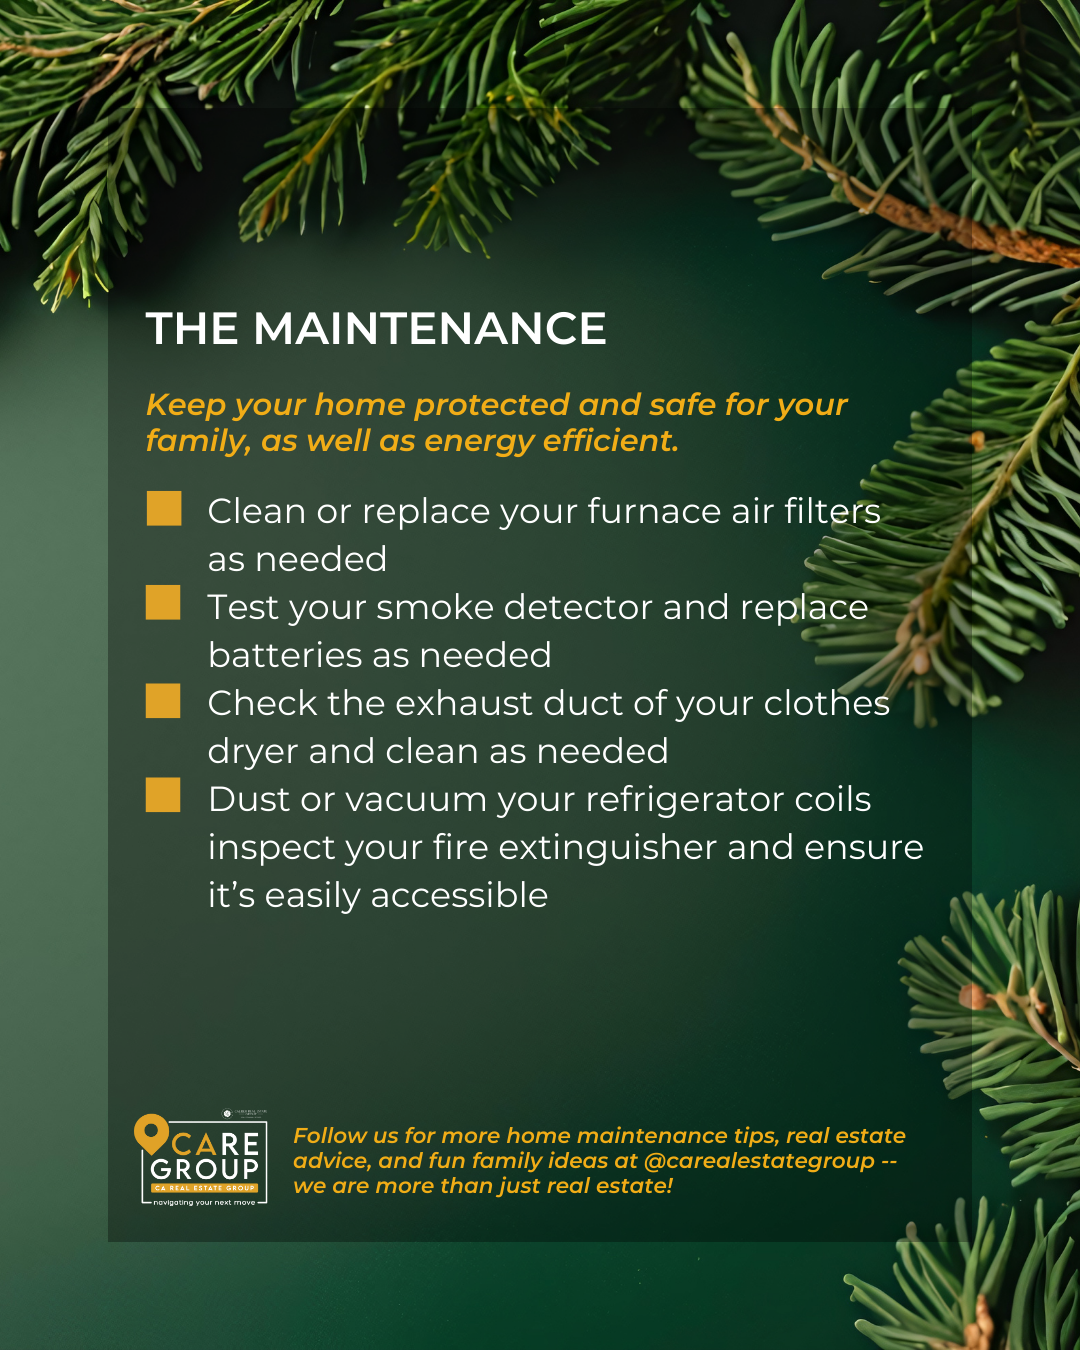
Christmastime can be a little chaotic, a little messy, and the addition of new toys and other gifts might make your home feel extra cluttered.
Having a concrete post-holiday cleaning and organizing strategy BEFORE THE HOLIDAYS can help make the holidays feel less messy and more relaxing! If you love and are motivated by checklists, this one’s for you!
Follow us for more home maintenance tips, real estate advice, and fun family ideas at @carealestategroup — we are more than just real estate!
———–
CA Real Estate Group | Caliber Real Estate
Christine Almarines @christine_almarines,📱 714-476-4637, DRE #01412944
Anaid Bautista @anaidrealtor,📱 949-391-8266, DRE #02179675
Letty Luna @lettylunarealestate,📱 562-879-4181, DRE #02174000
Serving Buena Park, Cerritos, LA County, Orange County and all surrounding areas
Think smarter, not harder, when it comes to keeping your living area tidy using these home organization hacks.
If your family spends a lot of quality time in the living room, it’s unlikely that it always—or ever—looks pristine. And that’s OK! This space is designed to be lived in and hold your favorite comfort items. But throw blankets, pillows, toys, games, remotes, and chargers don’t need to take over every visible surface, especially in between uses. This daily clutter can cause stress at the end of the day when all you want to do is relax and recharge.
The good news is that your living room has far more storage potential than you may realize. You just need to know where to look. Many of the best spots are hiding in plain sight, disguised as decor or embedded in furniture. These places should be attractive enough that guests hardly notice them, yet accessible enough so you can reach for anything you need without missing a second of your latest Netflix obsession.
Whether you’re working with a small space, a busy household, or simply want the space to look calmer and more intentional, these secret storage spots can help you reclaim your living room. These are five sneaky spaces you might not be utilizing yet, but definitely should.
1. Furniture With Hidden Storage
If you have furniture with hidden storage you haven’t been using, this is your sign to start. And if you’re in the market for new living room furniture, consider brands that design pieces like coffee tables, ottomans, benches, and even couches with storage in mind. After all, this is prime concealed real estate, especially in homes with limited space.
Start by deciding what not to store here, which should include anything heavy, fragile, or used multiple times per day. Instead, store things that you want accessible but not visible. Some examples include:
If none of your furniture doubles as storage, or you’re not looking to buy anything new at the moment, try an oversized decorative basket or two to hold many of the same items listed above. You may already have one that’s housing extra blankets or pillows. If you have enough floor space, designate another to what drives you the craziest to see out in the open, whether it be dog toys or workout gear.
Arrange baskets in a corner where they won’t be in anyone’s way, and aim for a style that matches your living room. If they’re tall enough, they can conceal their contents while making it easy to grab what you need when you need it. If items still poke out, layer a folded throw on top to help disguise what’s underneath. That way, you maintain the cozy aesthetic while sneakily doubling its function.
Many living rooms feature open shelving, whether in built-in bookcases, freestanding furniture, or floating shelves. This type of shelving offers plenty of room for creative styling, but it can look cluttered if you’re not careful. If your shelves tend to collect miscellaneous items alongside your books and decor accents, consider cute containers your secret weapon. Small to medium baskets (open or lidded) instantly turn open shelves into sneaky storage.
As with oversized baskets, look for ones that fit your living room’s aesthetic or color palette. Ensure they fit the depth and height of your shelves so they don’t appear out of place. Use them to corral odds and ends such as backup remotes, coasters, reading glasses, bookmarks, and electric lighters. You still get the curated ook, but with the added bonus of hidden storage.
Similar to under the bed, the space beneath your sofa may be underutilized. If you’re cramped for space, though, it’s a spot you might not have thought to use for storage. Measure the height, width, and depth beneath the couch, and use shallow under-bed containers (wheeled ones are smart if the area lacks carpeting, and lids prevent dust from piling up) to keep items neat and out of sight.
Not enough clearance to slide something under the furniture? Try adding a narrow console table behind it instead. Depending on where your couch is located in the living room, you may need to pull it forward a few inches and place the table between the back and the wall. Use decorative trays or lidded boxes to contain small essentials like remotes, glasses, coasters, or chargers so they don’t pile up on the coffee table.
Making use of available vertical space is an overlooked method to maximize storage and get clutter off surfaces in any area of your home. Shelving is one simple way to go about it, but it’s not the only. Lean a vintage ladder against a blank wall and fold blankets over each rung. For a more modern look, try mounting a handful of wall hooks and hanging a throw on each one.
You can also attach pretty baskets to a wall and designate each one to hold a category, such as magazines in one and gaming equipment in another. Stack books horizontally on a tall, floating bookcase. The options are endless when you think outside the box! And although some of these methods won’t necessarily hide the things you’re storing, they will at least look organized and make finding what you need a breeze at the end of a long day.
Enjoy dinner and tackle stains later with this helpful guide to removing common Thanksgiving Day stains.
Whether you’re in the kitchen preparing a feast, or you’re lounging on the couch watching football enjoying a plate of appetizers, stains are inevitable on Thanksgiving. Once the pie has been eaten, plates have been cleared, and thanks have been given, it’s time to survey the damage to your table linens.
Red wine, chocolate, candle wax, and gravy are all common holiday culprits. But don’t fret just yet if one of them takes a tumble. A holiday full of good times with friends and family and delicious food shouldn’t lead to clothes or a favorite table cloth being ruined by a small stain.
The following Thanksgiving stains can be fixed with a little effort and on-hand ingredients. So feel free to gobble down all your favorite Thanksgiving foods—sweet potatoes, pumpkin pie, cranberry sauce, and more. This easy stain guide will keep you and your home stain-free.
Put dish soap on the stain and let it sit for 10 minutes before laundering with cold water. Repeat if there are still traces of the stain. Remember: You should always confirm a stain is completely gone before using the dryer.
Scrape off any excess with a dull knife and run the fabric inside out under cold water to flush out as much of the stain as possible. Pretreat with a laundry stain remover, then wash the fabric on hot.
3. Cranberry Sauce
Rinse the stain with cool water. Add 1 Tbsp. white vinegar and 1/2 tsp. liquid laundry detergent to 1-quart cool water. Blot the mixture on the stain with a clean cloth until the spot has disappeared.
Red wine stains can be tricky to get out. Saturate the area in white vinegar, then rub in liquid detergent. Next, run under hot water to lift the stain. Remember to have your water very hot, not just warm, for the optimal stain-removing power.
Scrape off what you can with a dull knife, then use a hairdryer to melt the remaining wax. This will leave an oily residue you can dab away with a cotton ball soaked in rubbing alcohol. Launder the item as usual.
Add 1/4 tsp. dishwashing liquid and 3 drops ammonia to 1/2 cup warm water. Using a clean cloth, press the solution into the stain; do not rub. If the spill is on wool or silk, use club soda instead of ammonia.
7. Chocolate
Remove any crumbs or hardened chocolate with a dry, clean toothbrush. Add 1 tablespoon dish soap to 2 cups warm water and apply the mixture using a microfiber cloth, gently dabbing the stain. Do not rub, which can work the stain deeper into the fabric. Repeat a few times before soaking up the solution with a clean towel.
8. Butter and Oil
Much like treating a grease stain, spilled butter or oil can be treated with plain dish soap. Pour several drops of dish soap directly on the stain, making sure it’s completely covered. Let it sit for a few minutes, then use a clean, wet cloth to wipe away the detergent. Wash the garment as normal on cold, making sure the stain is gone before putting the item in the dryer.
9. Mashed Potatoes
The best mashed potatoes are loaded with butter and cream, which can leave stains if you’ve dropped a forkful in your lap. To treat the stain, wipe away any potato residue and then spot treat the area with dish soap. Rinse with cold water (hot water will set the stain) and repeat if necessary before tossing the item in the washing machine.
10. Coffee
An after-dinner coffee spill is easy to treat. Mix one part white vinegar with two parts cold water and use the mixture to rinse out the garment over the sink. Repeat several times until you can no longer see the stain, then wash the item on cold in the washing machine.
Pretreat with liquid laundry detergent, working it in with a toothbrush. Allow the detergent to sit for at least 15 minutes, then wash the fabric on hot. If necessary, repeat before drying.
For some people, cleaning can be a satisfying and productive way to wrap up their day. However, not all household chores are appropriate for nighttime. Tasks like wiping down counters or folding laundry can be done quietly and efficiently, while others may pose risks, disrupt sleep, or annoy nearby neighbors. The time of day you choose to clean can affect effectiveness, safety, and even the lifespan of some appliances.
Cleaning after dark can also lead to minor, albeit annoying, issues, like streaky windows and splotchy surfaces. What’s worse, chemical fumes can pose health risks and linger longer if your home is kept tightly locked at night. To ensure you’re keeping your home and its inhabitants healthy, here are the cleaning chores you should avoid doing at night, along with why it’s better to wait until morning.
1. Cleaning with Chemicals
Many cleaning products contain strong chemicals that require proper ventilation. Ingredients like bleach and ammonia can release fumes that may cause headaches, dizziness, or respiratory irritation. Unless you leave windows open overnight, it can be challenging to air out the rooms you clean. If doing a bit of light cleaning at night, aim to use natural cleaning products to reduce health risks. And if you need to use heavy-duty cleaners, wait to do so during the day when you can open windows or doors to allow for proper air circulation.
2. Washing Windows
Cleaning windows works best in good lighting to achieve a streak-free finish, making nighttime an unsuitable time for the task. Artificial lighting can create shadows and make it challenging to spot smudges, meaning you could wake up to less-than-ideal results. Additionally, wet windows can accumulate condensation overnight, potentially ruining your hard work.
3. Vacuuming
Even if you have one of the latest vacuum cleaners to hit the market or use a robot vacuum, the sound of it running at night will likely disturb your household. If you live in an apartment complex or other type of community where the homes sit close to one another (such as a duplex or townhouse), you also risk being a bother to neighbors. Many local noise ordinances restrict loud activities during designated “quiet hours”, so vacuuming at night could actually land you in trouble. If you need to clean up a mess quickly, try using a broom and dustpan or a handheld vacuum for a quieter solution.
4. Mopping
Mopping the floors after hours can pose an unexpected danger. Wet spots can pose a slipping hazard, especially if someone gets up in the middle of the night, unaware that the floor has just been mopped. It’s also easy to overlook dust, dirt, and stains, resulting in an incomplete clean. If you need to wipe up a late-night spill, consider using a dry mop or spot-cleaning the affected areas instead of attempting to clean the entire floor.
5. Decluttering or Rearranging
If you were the kind of kid who loved to rearrange your bedroom in the middle of the night, you might get the occasional urge to do it as an adult. But, that doesn’t mean you should! Late-night decluttering or moving furniture around can be dangerous, especially in dimly lit spaces. You risk tripping over objects, stubbing toes, or dropping things, leading to injuries or waking others up. Consider these projects to work on when the sun is shining.
6. Deep-Cleaning the Kitchen
Performing late-night light cleaning of kitchen surfaces, like wiping down the counter from leftover dinner spills, is usually no big deal. But scrubbing the oven, tossing expired food from the fridge, and even running the dishwasher can be disruptive. Dishwashers, in particular, tend to be quite loud, which might disturb light sleepers and—in rare cases—can cause a fire, which takes longer to react to if you’re asleep. Moreover, deep cleaning tasks that involve scrubbing or reorganizing cabinets can take longer than anticipated, leaving you feeling exhausted before bed.
7. Doing Laundry
Washers and dryers can be overly noisy, particularly in smaller homes where sound travels easily, and depending on the location of the appliances. The sounds of running water, hard objects (like buttons on a pair of jeans) tumbling around, and the machine’s signals can be grating for those trying to sleep. As with dishwashers, dryers pose a fire hazard if lint buildup leads to overheating, so it’s safer to be awake and alert when using these appliances.
8. Steam Cleaning
Steam cleaners are all the rage right now, but it might be a good idea to wait until daylight hours to use yours. Spills can lead to burns, and accidents are more likely to occur at night when lighting is dim and you may be tired. Furthermore, carpets cleaned with steam can take longer to dry in the cool night air, making them susceptible to mold or mildew growth.
(TIP from CA Real Estate Group: Visit the above link to view a sample photo of each fence type for ideas!)
Increasing the privacy of your yard can be as simple as putting up a fence. However, if you’re on a budget, a traditional fence can be out of reach, as privacy fence installation costs can cost up to $13,000. Luckily, several affordable fence ideas can provide you with the privacy you long for without draining your savings. Below, we’ve provided our top six affordable fence ideas for privacy on a budget, along with installation guidelines, maintenance tips, and average costs, so you know what to plan for.
1. Bamboo Panel Fence
Suppose all you want is a little privacy, but you’re not concerned about keeping animals in or actually increasing the security of your yard. If those priorities were the case, there are few materials better than bamboo panels. An 8-foot section of bamboo privacy fence is around $150, plus the cost of posts and other structural materials.
Although there are undoubtedly more affordable options, bamboo is ideal for small sections of a privacy fence, as it completely blocks visibility into your yard while offering a stylish aesthetic to your outdoor space.
2. Pallet Fence
Pallets have long been used as a starting point for many DIY projects. Unsurprisingly, pallets are a great option for an inexpensive privacy fence because they’re basically already fence panels. Once you place them together and securely fasten them to the ground and one another, you have a fence.
Best of all, you can often find pallets for free by browsing online marketplaces. Even if you want to spring for the premium pallets, you can typically find them for less than $5 each, as businesses often have a surplus they’re looking to dispose of. Lastly, if you don’t love the look of the pallets themselves, you can break them down and utilize the lumber, which is far cheaper than buying lumber from the hardware store.
3. Lattice Fence
Lattice screens are an accessible option for a DIY privacy fence that won’t break the bank. The pressure-treated lattice itself will cost under $30 for an 8-foot section of 4-foot-tall fencing.
When building a DIY privacy fence using lattice panels, factor in the cost of fence posts and structural members. Lattice panels aren’t very strong materials, so you’ll want to make sure they’re secured to something solid to prevent them from sagging, warping, and falling over.
You can further increase the privacy and beauty of a lattice panel fence by planting climbing plants along the base, then training them to fill in and climb the fence. If doing so, make sure your posts are strong enough to support the additional weight of the plants.
4. Living Fence
One of the most effective and visually appealing ways to bolster your yard’s privacy level is to plant a living fence comprised of fast-growing plants like Arbovitae, English Laurel, Privet, Forsythia, Leeland Cyrpruses, and more. While large, established plants can cost hundreds of dollars per plant, you can buy small saplings for under $20 each.
To get the most privacy out of a living hedge, make sure you plant each plant close enough to one another that there are no gaps between them once the plants reach full maturity.
5. Dead Hedge
If you have lots of trees that are constantly shedding limbs, you’re in luck. Use those fallen sticks, twigs, and branches to create a dead hedge. Drive posts into the ground, then weave the sticks around the posts along your desired path, pushing them down as you go.
Over time, you’ll create a gorgeous hedge of branches that both complements your outdoor space and increases your property’s privacy. If you use branches for your posts, you can build this privacy fence completely free of charge.
Weave the branches around the posts while they’re still green and supple. If you wait until they’ve dried, they tend to break.
6. Repurposed Material Fence
If you love a vintage, repurposed look, you can get very creative with your privacy fence. Utilize repurposed materials like old wooden doors and windows, shutters, wood flooring, galvanized metal, barnwood, and whatever else you can find to create the privacy fence you’ve been dreaming of. Oftentimes, you can find these materials for free, though you’ll need to buy posts and other materials to support your fence structure.
If you’re simply after visual privacy, you can construct a privacy screen by building a frame similar to a wooden swing set, then hanging your repurposed materials from the top using chains and hooks. Since most of these materials aren’t intended for outdoor use, you can extend their lifespan by painting or sealing them with a sealant rated for outdoor use and UV exposure.
Thanks!
Please fill out the form below and we will be contacting you shortly with information about your home.